
What Should You Do Before Setting Up Your AE BOX and AE BOX Pro?
When purchasing a miner machine, ensure you have acquired a PSU with 6-pin cables, an Ethernet cable, and an AC power cord.The Goldshell BOX series requires a power supply with two or more separate cables coming out of it and an Ethernet cable. If your miner supports Wi-Fi connection, the Ethernet cable is not necessary.
Before using the miner, please have an initial inspection with the miner:
Miner Inspection Checklist
| Step | Description |
|---|---|
| 1 | Check whether the appearance of the package or the miner is deformed or damaged. |
| 2 | Check whether the fan is damaged. |
| 3 | Check whether there is any abnormal noise in the miner, and observe whether there is a case where the heat sink falls off. |
| 4 | If any of the above abnormalities are found, please take photos first and contact the Goldshell after-sales service. |

Before setting up your AE BOX and AE BOX Pro, ensure hardware connections, network stability, and a well-ventilated installation location.
| Category | Description |
|---|---|
| Hardware Check | Ensure the AE BOX and AE BOX Pro is properly connected to a stable power supply using an appropriate socket. Verify that all connections between the miner, router, and power cord are secure. |
| Network Connection | Confirm that your network environment is stable. It’s recommended to use a wired connection to ensure reliability. |
| Installation Location | Place the miner in a well-ventilated area to prevent overheating. |
| Account Preparation | Register and create an account on a mining pool website to facilitate the configuration of the AE BOX and AE BOX Pro. |
How to Set Up Your AE BOX and AE BOX Pro for Mining?
The Miner comes with a detailed “how to start” user manual that users can refer to when getting started with AE Box.
Connect the Miner
| Step | Description |
|---|---|
| 1 | Plug one end of the Ethernet cable into your miner’s Ethernet port. |
| 2 | Connect the other end of the Ethernet cable to your network source, such as a router or switch. |
| 3 | Power on your miner by connecting it to a power supply. |
| 4 | After powering on, the indicator lights near the power interface will simultaneously flash red and green for a brief moment. Soon after, the red light will turn off and the green light will remain steady, indicating a successful startup. |
| 5 | Near the IP button, you’ll notice the indicator lights flashing red and blue. After a short while, only the blue light will be rapidly blinking. |
Configuring the Miner
Get the IP of the miner and enter the miner’s dashboard
- Visit find.goldshell.com using a browser like Google Chrome on your phone or computer.
- Make sure your miner and device are on the same network and frequency band.
- The website will detect the miner’s IP address within 6 minutes of startup.
- If the IP doesn’t match, press the miner’s IP button and refresh the website.
- Click the settings icon to access the miner’s dashboard.
Miner settings
Language Switch
| Description | Action |
|---|---|
| The miner dashboard supports both Chinese and English languages. | Click on the small flag icon at the top right corner of the home page to switch between languages. |
Unlock the Miner
| Description | Action |
|---|---|
| Unlock the miner to access settings. | Click “Unlock” on the top-right corner of the page and enter the password. Username: admin Password: 123456789 |
Change the Password
| Description | Action |
|---|---|
| To ensure the security of your assets, change the miner’s password after the initial setup. | Unlock your miner. Access the [System] page. Input the current password and the new password. Click the [Change] button. |
Network Settings
| Description | Action |
|---|---|
| The default configuration is set to DHCP mode. You can adjust the IP mode based on your requirements. | Unlock your miner. Go to the [System] page and disable the [DHCP IPv4 configuration] and [Auto DNS configuration] under the [Network Settings] section. Input the IP details according to your specific situation. Click the [Apply] button to save the changes. |
Add a Mining Pool
| Description | Action |
|---|---|
| Add a mining pool to start mining. | Unlock your miner. Click [Miner] on the left side of the page to enter the pool setting page. Click “ADD” to enter Pool Config and set up your mining pool information. Example using “DxPool”: Pool URL: your choice Miner name: dxpool account name. worker name (optional) Password: your choice Click the “Apply” button and wait for the Pool setting to turn green, indicating a successful connection. |
Note:
- Ensure that the pool information matches the mined cryptocurrency.
- If you switch to a different algorithm to mine a different cryptocurrency, remove the original pool addresses and add a new one.
- All miners can be set up with 3 mining pools, with priority decreasing from the top pool to the bottom pool.
Wait for a successful pool connection, then navigate to the [Home] section and monitor the chart. If you observe a hashrate curve, it indicates a successful pool configuration.
Introduction to Miner Dashboard Data
Home Page
| Module | Description | Details |
|---|---|---|
| Mining Status | Consolidates hash board information and monitors miner status. | Avg: Average hashrate within a specific time frame. Normal range is ±5% of the Miner Specification. HW error rate: Results discarded due to format errors. High if >5% and hashrate is below standard. Reject rate: Invalid submissions due to network issues. Normal range is 1% to 10%. Powerplan: Different modes for BOX Ⅱ miners. Temp: Average temperature of hash board. Fan speed (RPM): Current fan speed (e.g., 2520RPM for fan #1, 2580RPM for fan #2). Online for: Running duration of the miner. |
| Miner Model Information | Displays miner model and version details. | Model: Current miner type of the control board firmware. Firmware version: Version number of the current firmware. Hardware version: Current hardware version of the miner. |
| Hashrate Chart | Real-time hashrate graph for observing miner performance. | Generated based on real-time hashrate. Used to detect periods of no hashrate or low hashrate. |
| Hash Board Status | Displays detailed status of each hash board. | Hash board number (CPB 0): Position of the hash board (e.g., CPB0). Hashrate: Real-time hashrate of the hash board. Temp: Temperature of the hash board. Nonces: Number of valid computation results stored. Accepted: Number of results accepted by the mining pool. HW errors: Count of discarded results due to format errors. Reject: Count of rejected submissions by the mining pool. |
Miner Page
| Module | Description | Details |
|---|---|---|
| Pool Settings | Manage connected mining pools. | Check, remove, or add mining pools. MAC address: Media Access Control address. |
| Temperature Monitor | Monitor and control miner temperature. | Automatically shuts down if temperature exceeds normal range. |
| Light Indicator | Locate the miner quickly. | Flashing red and blue lights when enabled. |
| Powerplan | Switch between different modes. | Available for BOX Ⅱ miners. |
| Algorithm Settings | Choose algorithms for mining different cryptocurrencies. | Ensure pool information matches the mined cryptocurrency. Remove old pool addresses and add new ones when switching algorithms. |
System Page
| Module | Description | Details |
|---|---|---|
| Network Settings | Configure network settings. | Set IP mode and DNS configuration. |
| WiFi Settings | Configure WiFi connections. | Connect to available WiFi networks. |
| Cloud Control Settings | Enable remote control of the miner. | Check how to use cloud control. |
| Change Password | Update miner password. | Ensure security by changing the password regularly. |
| Update Miner Firmware | Upgrade the miner’s firmware. | Follow the tutorial for updating firmware. |
| Reset & Restart | Restart or reset the miner. | Restart miner: Click [Restart] to reboot the miner. Factory reset: Click [Reset] to restore factory settings (all configurations will be lost). |
Note:
- Ensure pool information matches the mined cryptocurrency.
- High HW error rates (>5%) and reject rates (>10%) may indicate issues with the miner.
- Regularly update firmware and change passwords for security.
How to Troubleshoot Common Issues with the AE BOX and AE BOX Pro?
Encountering issues? Here’s how to diagnose and fix common problems.
Common issues include network connectivity, abnormal hash rates, and power failures, which can often be resolved with simple checks.

Unable to Connect to the Network:
- Check if network settings and connection cables are correct.
- Ensure that the interfaces of the miner and the router are not damaged.
- Restart the device to see if the connection can be restored.
Abnormal Mining Power:
- Verify that mining pool settings are correct and confirm that the network is stable.
- Check the miner’s temperature to ensure normal heat dissipation.
- Ensure that the power supply provides sufficient voltage.
Miner Cannot Be Turned On:
- Check if the power supply is functioning properly.
- Ensure that the power cord connection is not loose.
- Try using a different power socket.
Common Issues with ALEO Miners(AE BOX & AE BOX PRO)
What Information Should You Prepare for Customer Support?
When contacting support, having the right information can speed up the process.
Prepare your miner’s model, serial number, a description of the issue, and any relevant logs or error messages.

Required Details
- Miner Model and Serial Number: Provide the correct device model and serial number.
- Fault Description: Briefly describe the problem, such as failure to start, connection issues, etc.
- Operation Log: Provide system logs and error information if possible.
- Miner dashboard complete shotscreen:complete information will helpful
- Mining Pool Information: Confirm the settings and account information of the mining pool.
What Is the Repair Process for the AE BOX and AE BOX Pro?
If your miner needs repair, here’s what to expect.
Contact Goldshell support, provide necessary details, and follow their instructions to send the device for repair.
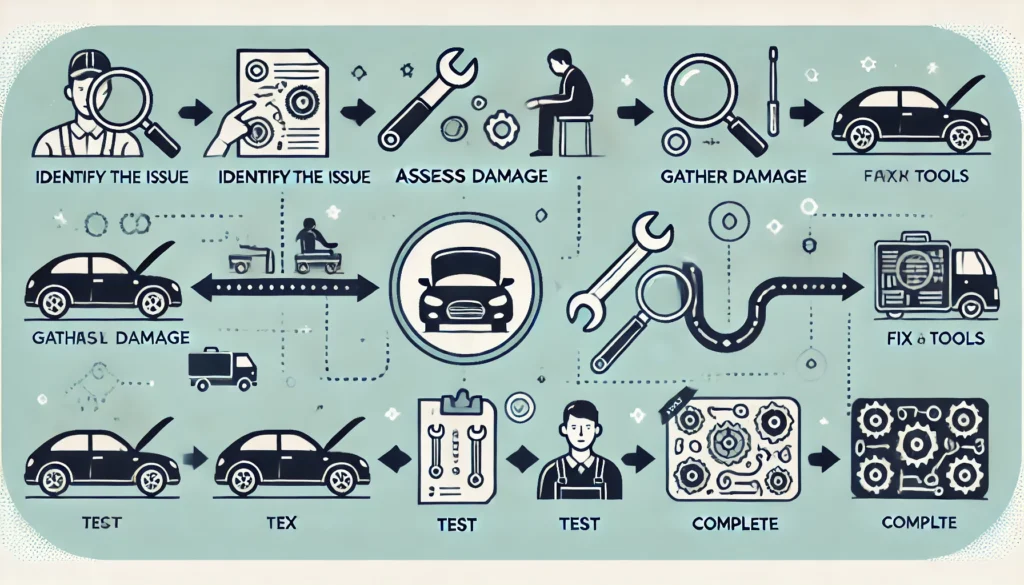
Step-by-Step Repair Process
- Contact Customer Service: Reach out to Goldshell’s after-sales service through the official website or customer service hotline.
- Fault Confirmation: Customer service will request necessary device information and fault description for preliminary diagnosis.
- Mailing Device: After confirming that repair is needed, send the device back according to customer service instructions.
- Repair and Testing: Goldshell will repair and test the device to fix hardware or software issues.
- Return Device: The repaired device will be returned to the user via express delivery.
Conclusion
Proper operation and maintenance of the Goldshell AE BOX and AE BOX Pro are essential for efficient ALEO mining. By following the setup guidelines and performing regular diagnostics, you can ensure optimal performance and longevity of your mining equipment.
If you need more news about AE BOX and AE BOX Pro, Please click to get more help.
