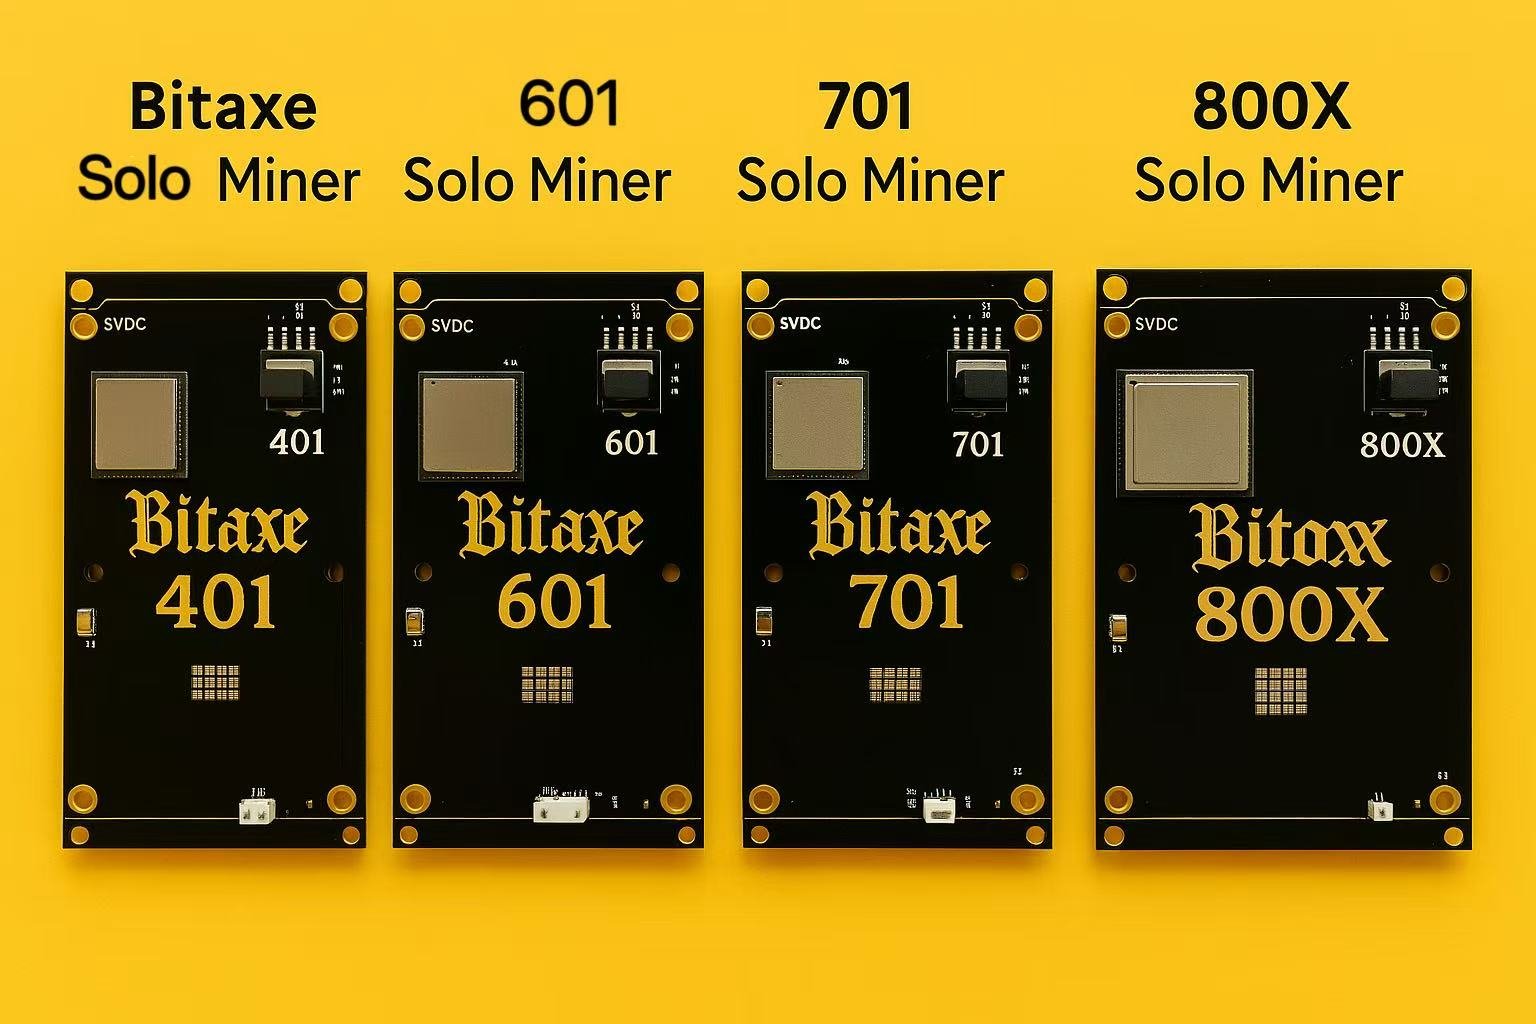
What Should You Do Before Setting Up Your Bitaxe 401 and Bitaxe 601?
The Bitaxe 401 and Bitaxe 601 are high-efficiency Bitcoin miners designed for seamless setup and optimal performance. Before using the miner, please have an initial inspection with the miner
Pre-Setup Checklist
- Unbox Components:
- Bitaxe 401/601 miner unit
- Detachable LCD screen
- Power supply with cable
- Mounting fixtures (screws/adapters)
- Requirements:
- Stable 2.4GHz Wi-Fi network
- Wallet address
- Smartphone/computer for initial configuration

Miner Inspection Checklist
| Step | Description |
|---|---|
| 1 | Check whether the appearance of the package or the miner is deformed or damaged. |
| 2 | Check whether the macine is damaged. |
| 3 | Check whether there is any abnormal noise in the miner, and observe whether there is a case where the parts falls off. |
| 4 | If any of the above abnormalities are found, please take photos first and contact the after-sales service. |

How to Set Up Your Bitaxe 401 and Bitaxe 601 for Mining?
The Miner comes with a detailed user manual that users can refer to when getting started with the machine.
1. Attaching the Screen
- Step 1: Align the detachable LCD screen with the slot on the miner unit.
- Step 2: Secure it using the provided screws.
- Note: Ensure the screen is firmly attached to avoid disconnection during operation.
2. Power Connection
- Step 1: Plug the power cable into a grounded wall outlet (global voltage compatible).
- Step 2: Connect the DC end to the miner’s power port.
- Safety Tip: Use a surge protector to safeguard against voltage fluctuations.
3. Initial Boot-Up
- Power on the device. Within 1–2 minutes, the screen will display “Bitaxe_XXXX” (where XXXX is the device ID).
- Troubleshooting: If the screen remains blank, check power connections and restart.
4. Wi-Fi Configuration
- Step 1: On your smartphone/computer, navigate to Wi-Fi settings and connect to the network “Bitaxe_XXXX”.
- Step 2: Select “YES” if prompted to continue without internet access.
- Critical: Ensure the device is within 5 meters of the miner for stable connectivity.
5. AxeOS Setup
- Step 1: Open a browser and visit http://msftconnecttest.com (auto-redirects to the AxeOS interface).
- Step 2: Navigate to Settings > Network Configuration.
- Enter your 2.4GHz Wi-Fi credentials:
- Wi-Fi SSID: Your network name
- Password: Case-sensitive; double-check for accuracy.
- Enter your 2.4GHz Wi-Fi credentials:
- Step 3: Click “Save”. The miner will reboot and connect to your Wi-Fi.
6. Miner Customization
- Set ‘Stratum User’ to your mining username.
- Enter the ‘Stratum URL’ of your preferred Bitcoin pool (omit ‘TCP://’).
7. Firmware Upgrade (Optional but Recommended)
- Step 1: Download the latest firmware files from ESP-Miner Releases:
www.bin(web interface)esp-miner.bin(core firmware)
- Step 2: In AxeOS, go to “Maintenance > Firmware Update”.
- Upload
www.binfirst, thenesp-miner.bin.
- Upload
- Step 3: Restart the device to apply updates.
This is a simple table for you to easy understand
| Step | Action | Details |
|---|---|---|
| 1 | Attaching the Screen | Use the provided fixtures to attach the detachable screen to the Bitaxe Gamma unit. |
| 2 | Power Connection | Connect the power cable to a suitable wall outlet and the miner. Compatible with global voltage standards. |
| 3 | Initial Boot-Up | Power on the device. Wait for the screen to display “Bitaxe_XXXX” (indicates setup readiness). |
| 4 | Wi-Fi Connection | Connect to the “Bitaxe_XXXX” Wi-Fi network using a smartphone/computer. Select ‘YES’ if prompted to continue without internet. |
| 5 | AxeOS Setup | If the setup page doesn’t auto-open, visit msftconnecttest.com in a browser. Enter your 2.4G Wi-Fi SSID and password under Settings. Ensure the password is correct. |
| 6 | Customizing Your Miner | – Set Stratum User to your mining username. – Enter Stratum URL (Bitcoin pool URL; omit “TCP://”). |
| 7 | Firmware Upgrade | 1. Download the latest www.bin and esp-miner.bin files from GitHub. 2. In AxeOS, upload the files via the designated buttons. |
Post-Setup Verification
Dashboard Check:
- Confirm the AxeOS dashboard displays “Connected” under status.
- Monitor hashrate and temperature metrics.
How to Troubleshoot Common Issues?
- Wi-Fi Issues: Ensure the miner is within range of the router. Avoid 5GHz networks.
- Stratum Errors: Double-check the URL format
- Screen Freezes: Power cycle the device and re-upload firmware if needed.
Maintenance Schedule
| Task | Frequency | Tools Needed |
|---|---|---|
| Dust cleaning | Every 2 weeks | Air compressor |
| Thermal paste | Every 6 months | MX-4 compound |
| Cable check | Weekly | Multimeter |
What Information Should You Prepare for Customer Support?
When contacting support, having the right information can speed up the process.
Prepare your miner’s model, a description of the issue, and any relevant videos or error messages.

Required Details
- Miner Model: Provide the correct device model
- Fault Description: Briefly describe the problem, such as failure to start, connection issues, etc.
- Miner dashboard complete shotscreen:complete information will helpful,a video will helpful
- Mining Information: Confirm the settings and account information
Conclusion
The Bitaxe 401 and 601 combine user-friendly design with robust mining performance,By following these steps, you can quickly deploy your miner and optimize its efficiency. While the 601 offers higher performance, the 401 remains cost-effective for smaller operations. Need More solo miner? Visit Miner Source for more items and contact us for more details.Happy Mining!


